Introduction

After encountering OTW’s SpyPi tutorial, former hacker for the NSA and various military branches, I couldn’t help but attempting my own rendition. According to wikipedia, the Special Collection Service (SCS), codenamed F6,[1] is a highly classified joint U.S. Central Intelligence Agency–National Security Agency program charged with inserting eavesdropping equipment in difficult-to-reach places, such as foreign embassies, communications centers, and foreign government installations. If you are a spy or work for a government agency, this tutorial will help educate or at least develop an understanding on how elementary surveillance equipment works . Given the size and price of the Raspberry Pi, it is an excellent device for prototyping surveillance equipment and applications. Please follow the procedures below to begin your own experiment.
Preparing Environment
If piping-in from a MacBook, ensure that remote log-in is configured:
- System Preferences > Sharing > Enable Remote log-in
Also note, in order to download images from the Raspberry Pi, remember the following-convention from your MacBook terminal window:
scp image.jpg username@macbook-ip-address:/Users/your-username/Desktop
This tutorial assumes you know how to bootload and install Raspian; if not, please follow along OTW’s introduction. After setting-up the Raspberry Pi, configure the Raspberry Pi by logging-in and running the following commands:
sudo apt-get install ufwsudo systemctl enable sshsudo systemctl start sshsudo ufw allow 22- Log-in to the Raspberry Pi from your MacBook via ip-address (eg:
ssh -v pi@your-pi-ip-address).
Preparing Raspberry Pi Environment
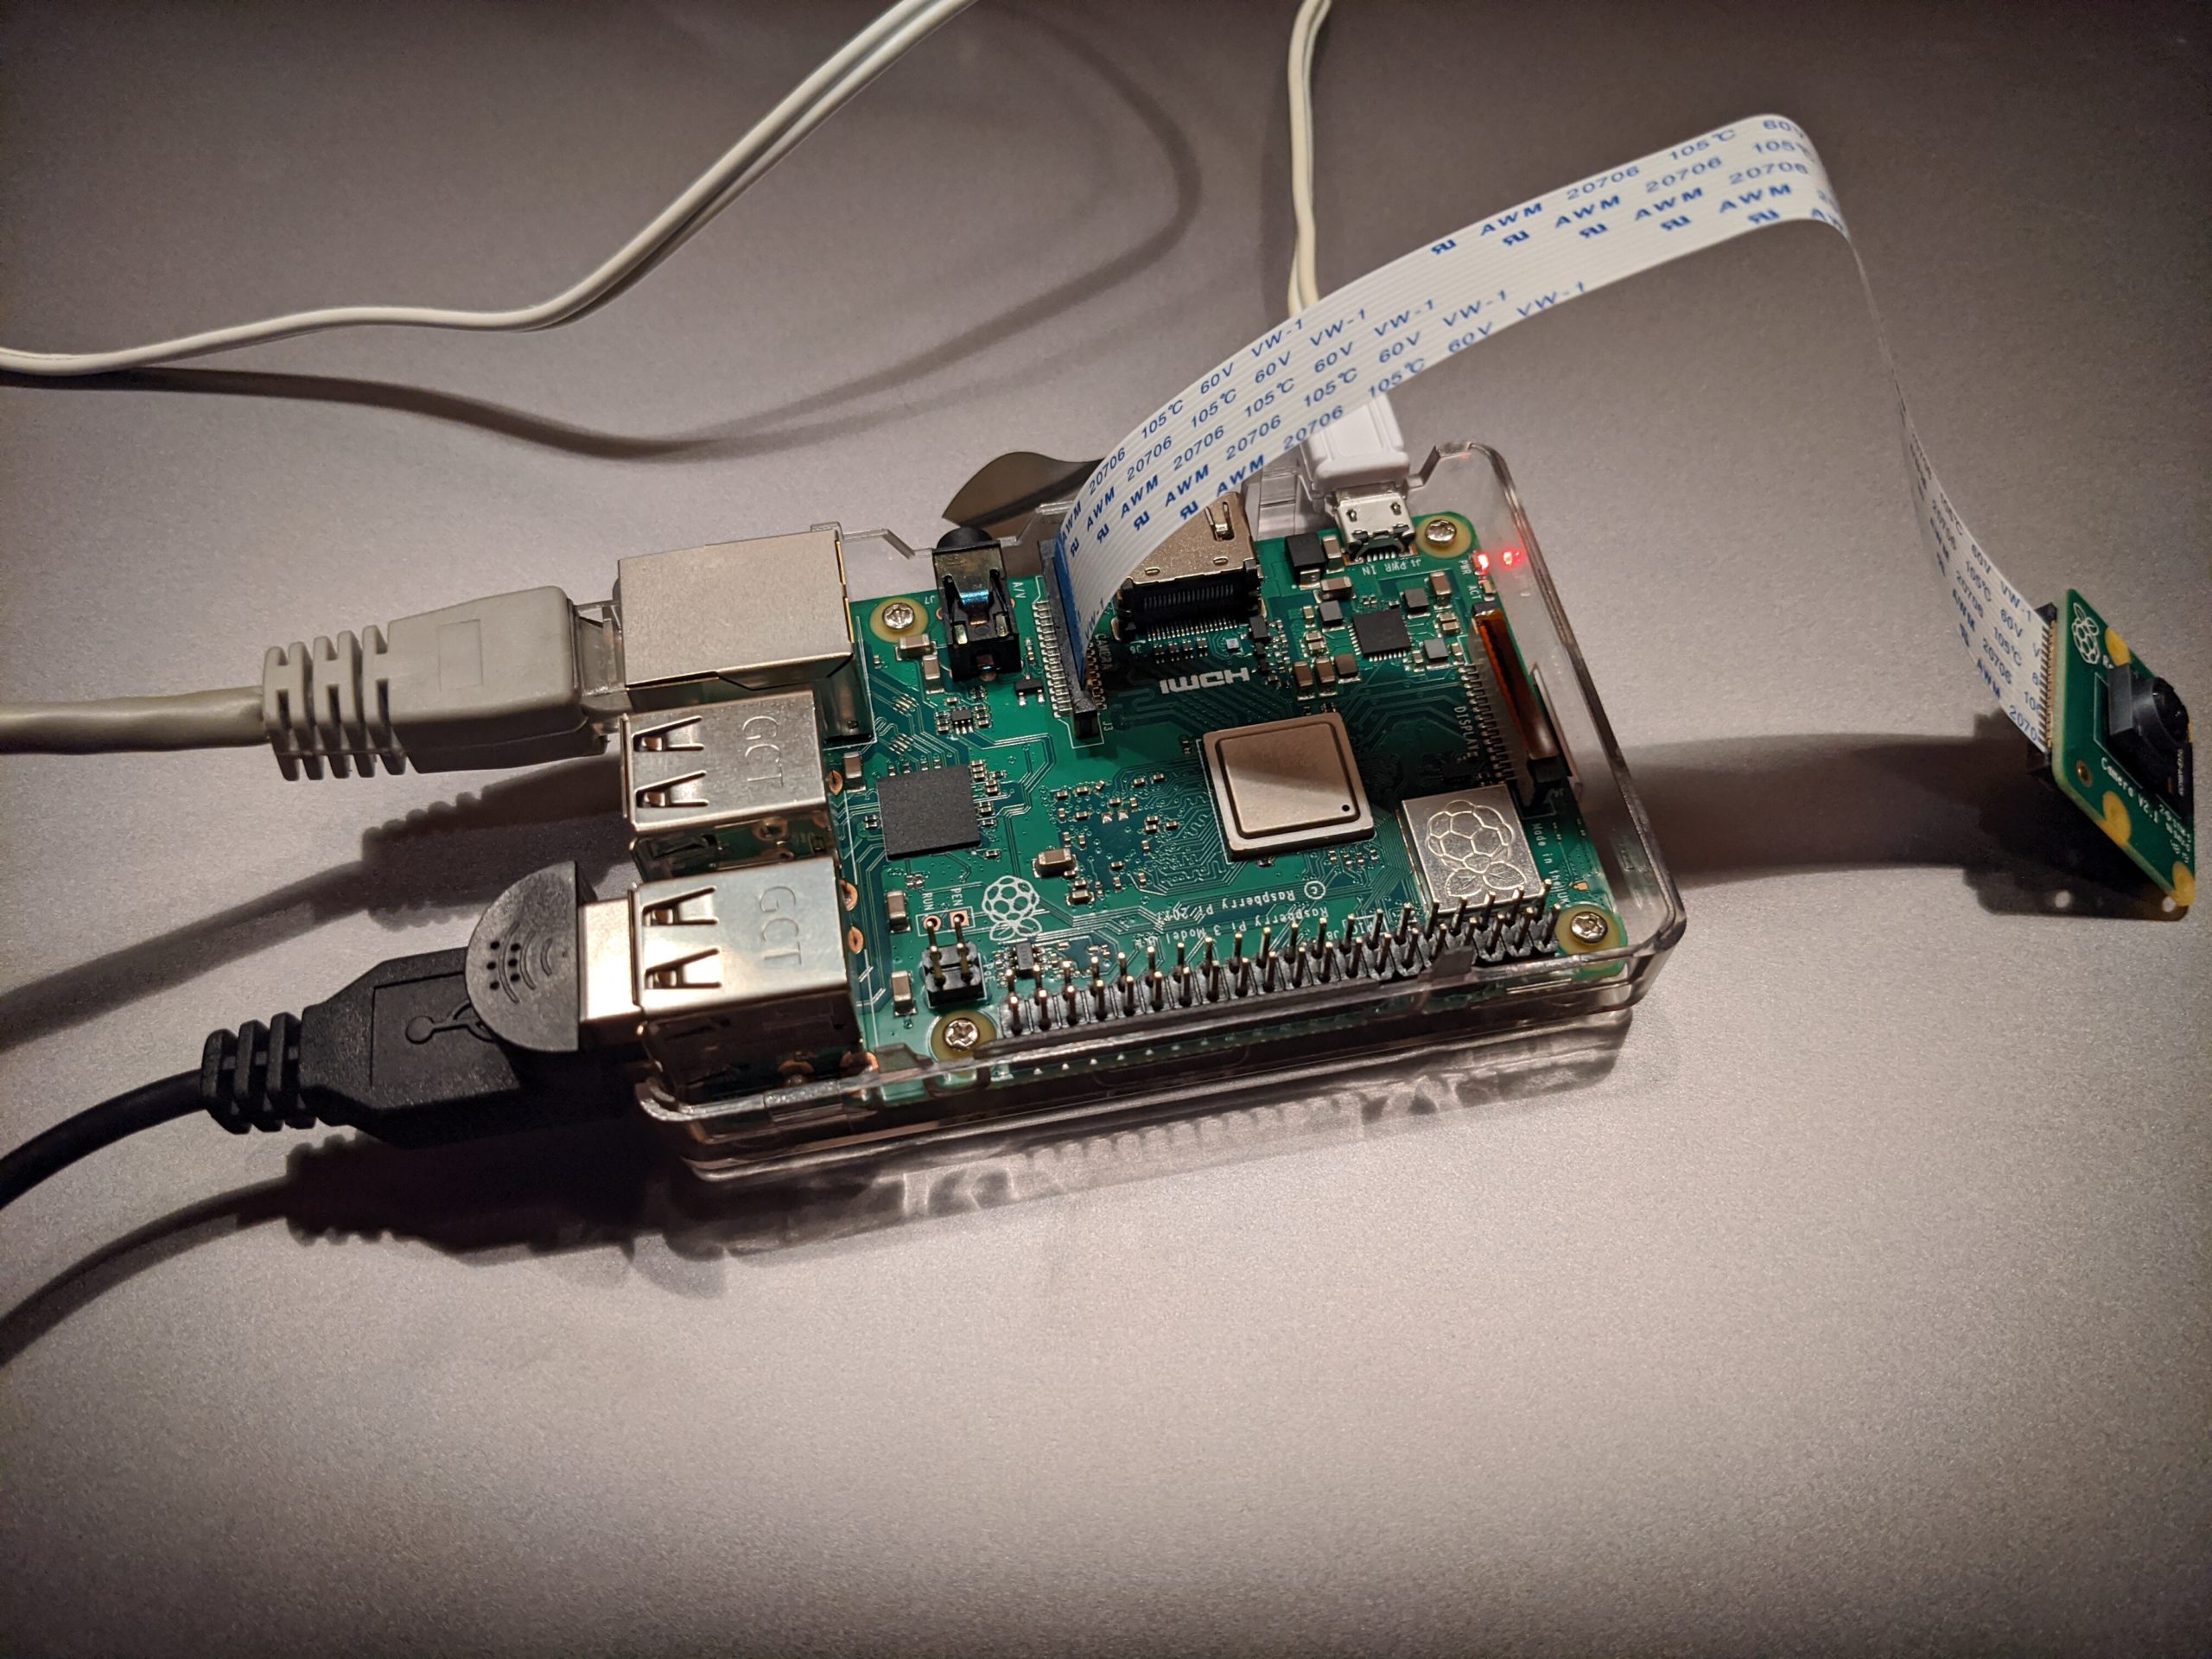
Run sudo raspi-config in order to select “3 Interface Options” to enable the camera connected to the Raspberry Pi as depicted in the introduction, then reboot the Raspberry Pi.
Taking Photographs Remotely with Raspberry Pi
In order to take photographs with Raspberry Pi configured with a 1080p mini camera as displayed within the intro of this tutorial, you’ll run raspiblitz as denoted within the below markdown:
raspistill -v -o fifth.jpg
After capturing the image with Spy Pi, run the following command according to syntax in order to download the image to your MacBook desktop
scp fifth.jpg username@macbook-ip-address:/Users/your-username/Desktop
Upon downloading the image from the Spy Pi to your desktop, your image should look like an example as depicted:

Eavesdropping
Run arerecord -l in order to list the peripheral settings connecting the USB-microphone to the Raspberry Pi. The generated output should resemble something according to the following:
**** List of CAPTURE Hardware Devices ****
card 2: Device [USB PnP Sound Device], device 0: USB Audio [USB Audio]
Subdevices: 1/1
Subdevice #0: subdevice #0
The “D option” specifies recording device. Since this specific test mic is on “card 2”, “device 0”, the value is “hw:2,0” here. This command creates “test.wav” as a 5-second, CD-quality wave file. Since it’s a mono mic, specify “1” as the number of channels with “-c” option.
In order to capture audio according to the above specifications, simply run:
arecord -D hw:2,0 -d 5 -f cd test.wav -c 1
Then secure-copy test wave by running the following command according to convention:
scp test.wav your-username@your-ip-address:/Users/your-username/Desktop
Double-click the file-icon on your desktop to listen to a test recording elapsed at five seconds!
A five-second sample of audio captured from a retrofitted Spy Pi
Capturing Video
In order to capture a second video with your very own Spy Pi, simply run the following command:
raspivid -o video.h264 -t 10000c
Raspivid is the application, “-o” specifies the output file, in this case, video and the time captured is 10 seconds, or “10000c.”
After running the above command, secure-copy to your desktop and view in VLC player and convert to .mp4 if you wish to view on YouTube, like the below embed.
scp video.h264 your-username@your-ip-address:/Users/your-username/Desktop
SpyPi Surveillance Footage Captured via raspivid
Conclusion
Hopefully this tutorial improved your understanding of rudimentary surveillance devices.
